


How to furnish a studio apartment: tips and solutions
Furnishing a studio is often a balancing act between function and aesthetics. Every square metre must be planned to accommodate sleep, meals and relaxation without ever compromising your comfort or your style. Far from being a constraint, this compact footprint becomes a creative playground where clever furniture and smart layouts transform the space. By adopting a zoned approach and choosing multifunctional pieces, you can create an interior that is both practical and inspiring. Let us guide you in unlocking the full potential of your studio.
Furnishing a studio apartment is often seen as a major challenge, a puzzle where every square centimeter must be optimized without sacrificing style and comfort. Yet, this spatial constraint can reveal itself to be a tremendous creative opportunity. A well-thought-out studio is not merely a functional dwelling; it is a jewel box of life that reflects your personality, a multifunctional space where every element has its place and its reason for being. Whether you are a student, a young professional, or simply a fan of a minimalist lifestyle, furnishing a studio requires a thoughtful strategy, blending layout tricks, smart furniture choices, and a touch of bold decoration. This article guides you step by step to transform your small space into a living area that is as practical as it is inspiring, exploring current trends and ingenious solutions that make the difference.
The Philosophy of Studio Layout: Think "Zones" Rather Than "Rooms"
The first step to furnishing a studio well is to make a change in perspective. Forget physical partitions and think in terms of activity zones. A studio is a single room that must accommodate sleep, meals, relaxation, and sometimes remote work. The key lies in the visual and functional definition of these zones to create a sense of order and space.
This demarcation can be done in multiple ways, without hindering the flow of light or the feeling of openness. It's about creating "rooms within the room" through subtle but effective means. This approach is fundamental to prevent the space from resembling a dormitory or a storage room and to establish a beneficial psychological routine.
Visual Separation Techniques
Several tricks allow for separating spaces without walls. The use of color is powerful: painting an accent wall behind the sofa or the head of the bed instantly defines a living room or bedroom area. Differences in floor coverings, like a large rug under the living room seating, visually anchor a zone.
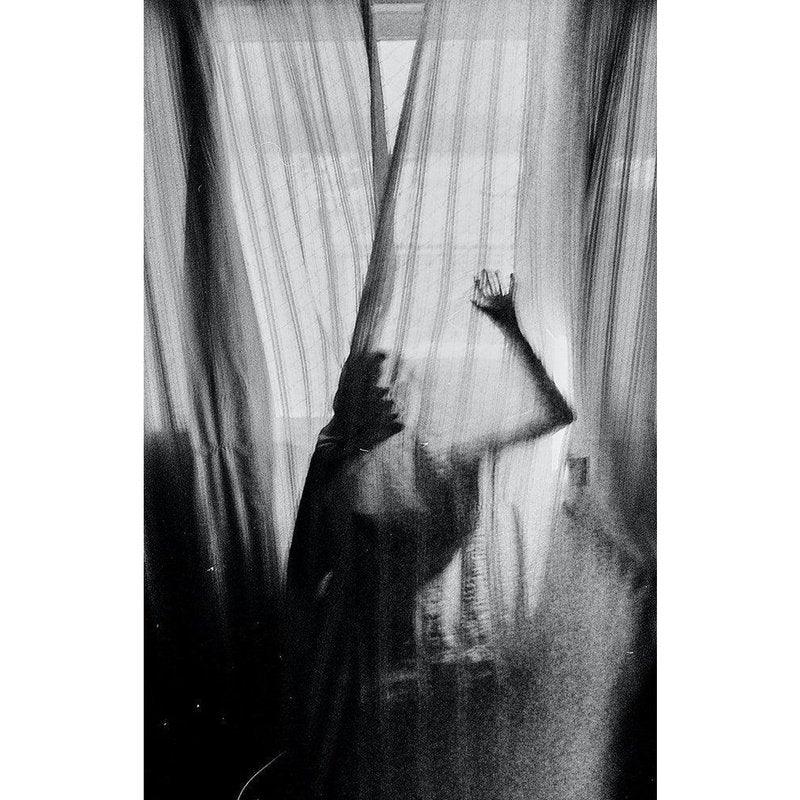
Light is also a valuable tool. A chandelier or ceiling light above the dining table, wall sconces near the bed, and a floor lamp near the sofa create distinct atmospheres and guide the eye. Finally, the furniture itself can serve as a divider. An open bookshelf, a decorative screen, or a curtain of transparent threads are elegant and flexible solutions.
Multifunctional Furniture: The Essential Ally of the Studio
In a studio, every piece of furniture must justify its presence, and ideally, serve multiple purposes. Investing in multifunctional furniture is the smartest strategy to gain space and practicality. It is no longer a simple gadget, but a major trend in furnishing small spaces, with increasingly refined designs.
The bed is the bulkiest element. Opting for a loft bed frees up valuable floor space to install a desk or a living area underneath. Beds with integrated storage drawers in the base or wall beds (like Murphy beds) are also proven solutions. For the living room, a sofa bed for guests is classic, but also consider sofas with integrated storage under the seats.
The table is another pivot. An extendable table or one with leaves allows you to dine for two daily and occasionally host friends. Lift-top coffee tables become in an instant a work surface or a dining table. Finally, do not overlook the possibilities of the wall: modular shelves, a fold-down desk, or a fold-down bed (like in boat cabins) are radical solutions to maximize space.
Storage Optimization: The Key to a Clutter-Free Studio
Clutter is the number one enemy of small spaces. A well-organized studio immediately appears larger and more calming. The goal is to create maximum storage without encroaching on the living space. You must think in volume, not just in floor surface area.
Exploit the ceiling height with bookshelves going up to the ceiling. Use the often-wasted space above doors and windows to install storage shelves. Tall and narrow furniture, like storage columns, are perfect for corners or along a wall. For the kitchen, favor vertical storage systems: magnetic spice racks, rails and hooks for utensils, shelves inside cabinets.
In the "bedroom" zone, under-bed storage is crucial. Flat storage boxes on wheels slide easily under a raised bed. For the wardrobe, an open closet with a hanging rail and basket system, protected by a curtain, is often more effective and less bulky than a massive armoire. The secret lies in regular sorting and adopting a minimalist philosophy: keep only the essentials and what brings you joy.
Optical Illusions to Enlarge the Visual Space
Decoration and material choices can play tricks on our perception and make a studio appear larger than it actually is. These visual tricks are simple to implement and have an immediate impact.
Color is your first lever. A light, monochromatic palette (white, beige, very pale gray, sand tones) on the walls, floor, and large furniture reflects light and creates a visual continuity that expands the space. Reserve bright or dark colors for accessories, cushions, or an accent wall. Mirrors are the ultimate allies: placed opposite a window, they double the natural light. A large mirror on an entire wall or several mirrors of different shapes create fascinating depth.
Prefer a floor in light tones and, if possible, without breaks between zones (same flooring throughout the studio). Choose furniture with slender, raised legs that let you see the floor and give an impression of lightness. Low furniture, like a flat coffee table or a sofa with clean lines, preserves sightlines and maintains an unobstructed view.
Layered Lighting: Creating Ambiance and Functionality
In a studio, a single ceiling light in the center of the room is the best way to flatten the space and create useless shadowy areas. The solution lies in layered lighting, which combines several light sources at different heights and for different uses.
Start with general lighting, soft and diffuse, provided by adjustable wall sconces, pendant lights at variable heights, or track lighting. Then add task lighting, more direct and powerful: a desk lamp for work, a bedside lamp for reading in bed, an under-cabinet light in the kitchen. Finally, don't forget ambient lighting, which creates warmth and intimacy: string lights, a candle, or a small table lamp with a colored shade.
The use of dimmers is particularly wise in a studio, allowing you to adapt the light intensity to the time of day and the activity. Prefer warm light bulbs (2700K-3000K) for relaxation areas (living room, bedroom) and more neutral light (3000K-4000K) for the kitchen and office.
Choosing a Coherent and Personal Decoration Style
A common pitfall when trying to furnish a studio is wanting to do too much, mixing styles and creating a feeling of clutter. Stylistic unity is paramount for a harmonious result. Choose a guiding style and apply it to all zones.
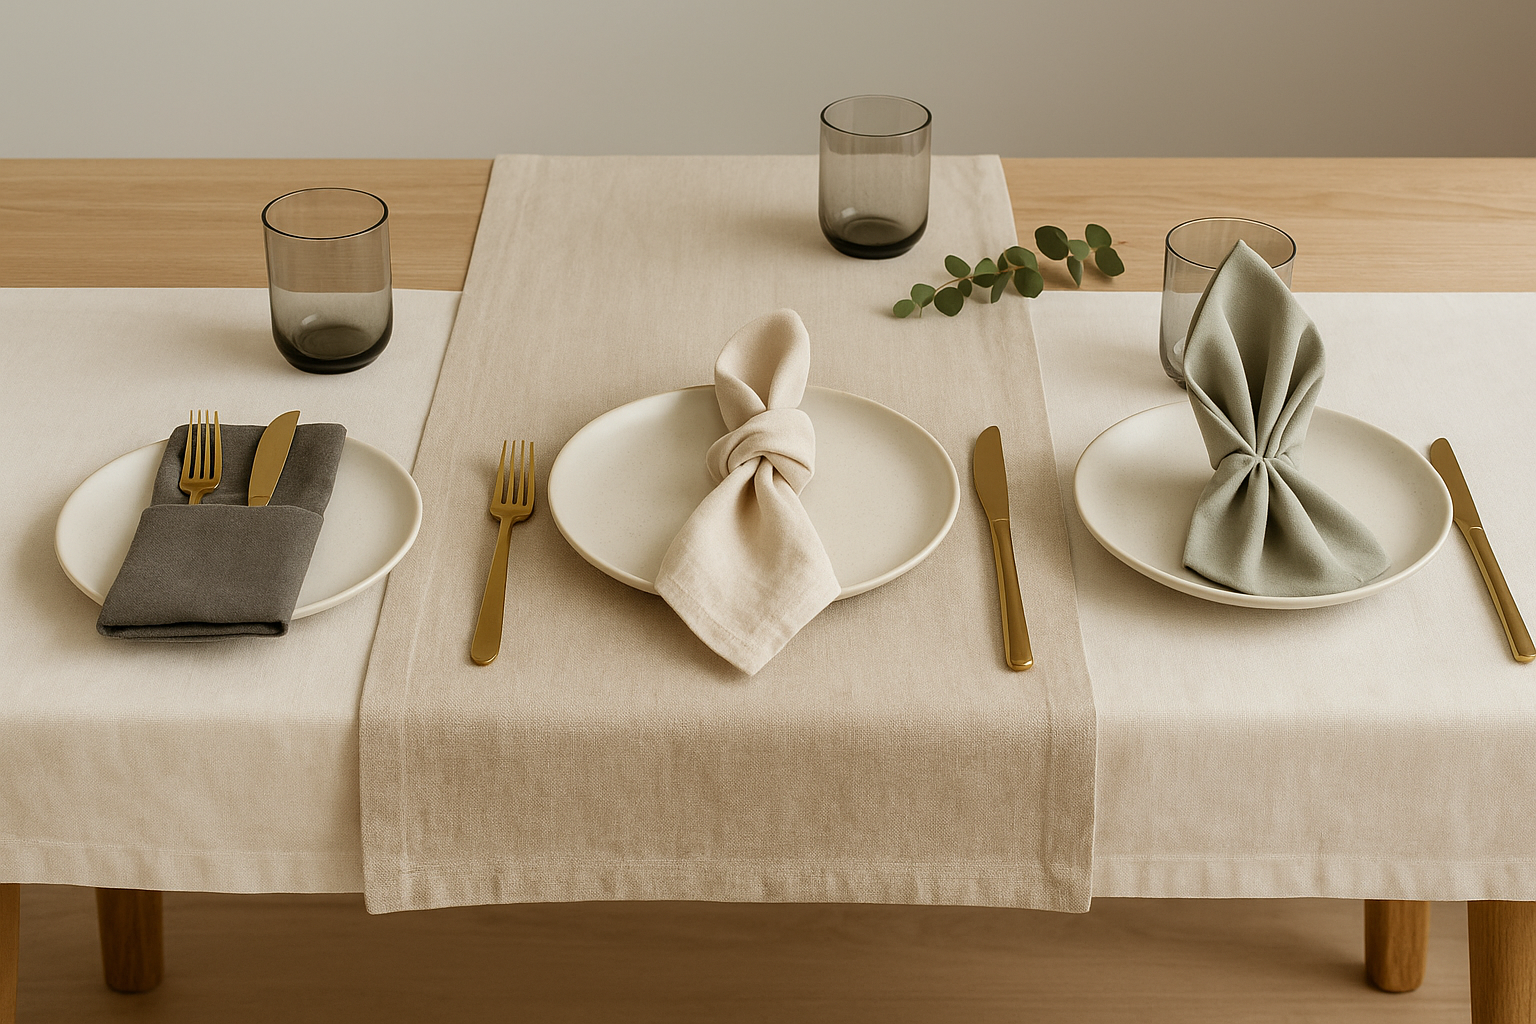
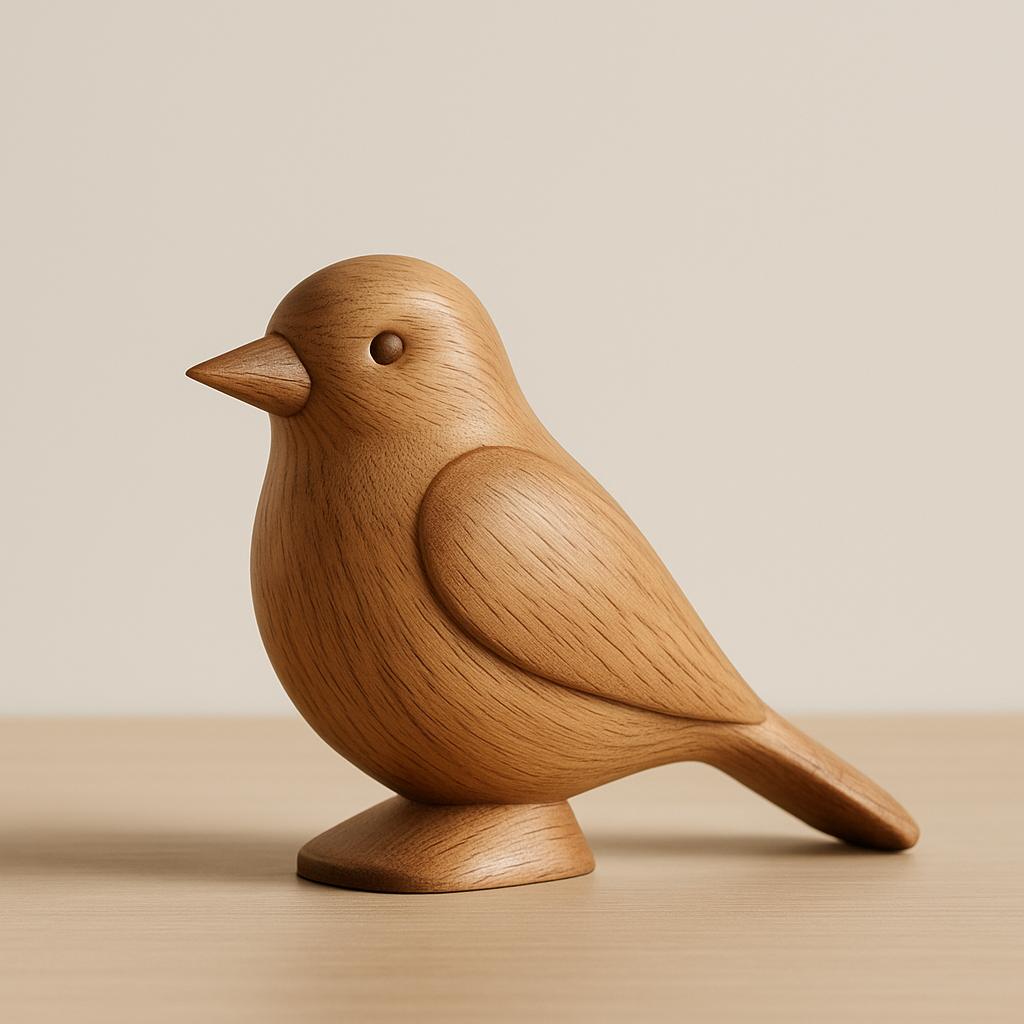
The Scandinavian style, with its clean lines, light woods, and neutral tones, is a natural choice for small spaces, as it prioritizes light and functionality. The Japanese style (wabi-sabi) and its calming minimalism is also perfect. For more character, an industrial style, with raw materials and metal furniture, can work if softened by textiles and plants. The "Japandi" style, a hybrid of Japanese and Scandinavian, is a rising trend very well suited.
Unity comes from the repetition of two or three main materials (e.g., oak wood, linen, rattan), a restricted color palette (3-4 colors max), and similar shapes (all rounded or all angular). Accessories and wall art should be chosen carefully: a few strong pieces are better than a multitude of small knick-knacks.
Current Trends for Studios
The furniture market is constantly adapting to the needs of urban dwellers in small homes. Several decor trends for studios are emerging, blending technology, design, and well-being.
"Connected" and modular furniture is gaining ground. Motorized height-adjustable tables, beds with integrated lighting and USB chargers, or connected shelving systems for personalized lighting. Sustainability is also a major concern: the use of refurbished second-hand furniture, recycled materials, and quality pieces designed to last is a major trend.
The notion of a "sanctuary" is central. After years where the studio had to accommodate everything, there is now a desire to create a cocoon preserved from external stress. This translates into closed storage spaces to hide clutter, dedicated wellness corners (a yoga mat stored in a chest, a comfortable reading chair), and an abundance of air-purifying green plants, which bring life and serenity.
Setting Up Specific Zones: Office, Dressing, Kitchen
Certain zones require particular attention in a studio layout plan.
Creating an Effective Office Corner
Remote work makes a dedicated space essential, even a minimal one. The ideal is a fixed desk at height (like a console) placed near a source of natural light. If space is lacking, a fold-down desk attached to the wall or a drop-leaf table will do. Vertical storage is crucial: a cork board or magnetic board above the desk for notes, shelves for books.
Optimizing a Dressing in a Studio
An open closet on a rail, complemented by shelves and fabric baskets or boxes, is the most flexible and economical solution. A sliding curtain or a screen allows you to hide it. To save space, adopt the vertical folding method (KonMari style) and use only thin, uniform hangers (black or white) for an orderly visual result.
Organizing a Kitchenette
In a kitchenette, every centimeter counts. Use cabinet organizers (dividers for plates, lid holders), magnets for knives and spice jars. A mobile central island with storage can serve as a work surface, storage, and a bar for meals. Prefer compact and multifunctional appliances (combination microwave oven, electric kettle).
Mistakes to Absolutely Avoid
Some misguided ideas can ruin the efforts of furnishing a studio. Avoiding them will save you precious time.
- Overloading the space with furniture that is too large: A three-seater sofa in a 20m² space is often a mistake. A comfortable two-seater and an additional pouf are better.
- Neglecting circulation: Leave passages at least 60 cm wide between furniture. A cluttered space is difficult to live in daily.
- Forgetting scale: Furniture that is too low in a room with high ceilings can create a feeling of emptiness. Play with verticality.
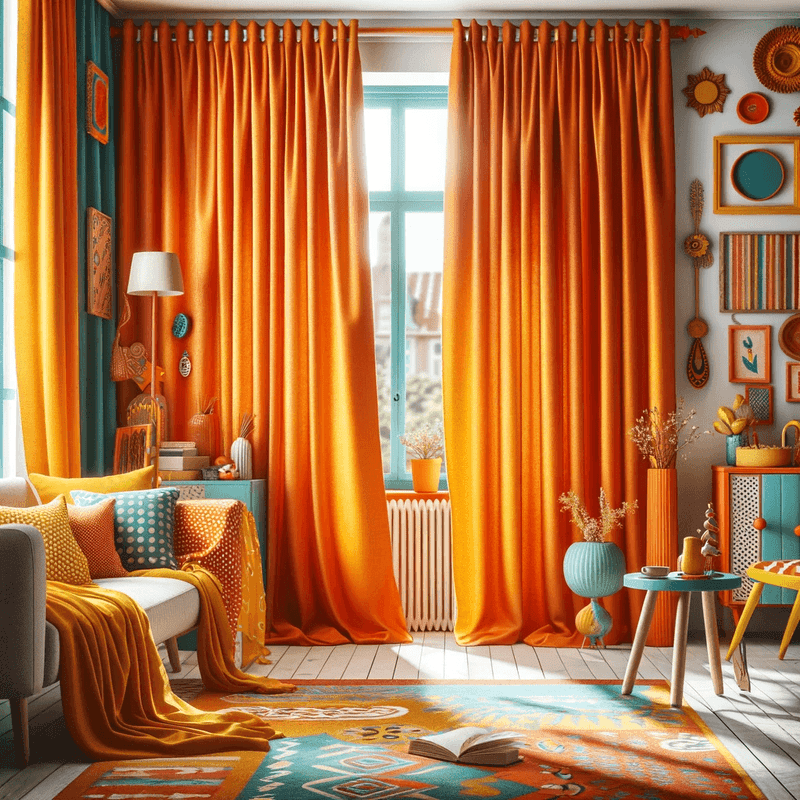
- Using heavy and opaque fabrics and curtains: They block light and visually weigh down the space. Prefer light sheer curtains or slatted blinds.
- Wanting to hide all the walls with furniture: A completely clear wall, simply adorned with a piece of art or a mirror, gives the room breathing space.
FAQ: Your Questions on Studio Layout
What is the best layout for a rectangular studio?
For a rectangular studio, the "lengthwise" layout is often the most efficient. Place the sleeping zone (bed) at one end, possibly in an alcove or separated by a screen. In the center, install the living area. At the other end, near the window if possible, create the dining/work zone. The kitchen and entryway are usually placed along a wall. This arrangement creates a natural flow and clearly defines the spaces.
Is a sofa absolutely necessary in a studio?
No, a sofa is not an obligation. In very small studios (less than 20m²), it can be advantageously replaced by a very comfortable large armchair, a padded bench with extra cushions, or even a daybed (a bed with a firm base and mattress, adorned with many cushions for the day). This frees up considerable space for other functions.
How to add personality without overloading?
Personality comes from carefully chosen details, not quantity. Choose three or four strong elements: an original piece of art on the main wall, a rug with a graphic pattern, cushions in textured fabrics (velvet, bouclé wool) or bold colors, and souvenir objects with real sentimental value, displayed on a dedicated shelf. Vegetation (a large green plant or a grouping of small plants) also immediately brings life and character.
What budget should I plan to furnish a studio from A to Z?
The budget varies greatly. By relying on second-hand items, DIY, and basic furniture, it is possible to manage for €1500-€2500. For a layout with new, mid-range quality furniture (Scandinavian furniture stores, large furniture retailers), budget €3000-€5000. A budget above €6000 allows for investment in high-end, custom-made, multifunctional design pieces and noble materials. Prioritize investments on the bed (sleep) and sofa (relaxation), then on storage solutions.
Are plants recommended in a small space?
Absolutely. Plants are beneficial in several ways: they purify the air, bring a touch of calming nature, and can serve as vertical decorative elements. Prefer climbing plants (pothos, ivy) on a high shelf, hanging plants, or species with a vertical habit like Sansevieria (snake plant), which take up little floor space. Just make sure to choose varieties suited to the light available in your studio.
Furnishing a studio is an exciting exercise that combines logic, creativity, and introspection about your lifestyle. By following these principles – intelligent zoning, multifunctional furniture, optimized storage, and coherent decoration – you will transform constraints into assets. Your studio will become much more than a simple dwelling: a personal refuge, functional and perfectly adapted to your daily life. Remember that layout is an evolving process. Do not hesitate to readjust, experiment, and let your personality express itself in every detail. To discover more inspiration and precise advice on styles, colors, and decor tips, continue your exploration on ombreinterieur.fr, your resource for creating the interior that reflects you, no matter the space you have. Check out our article how to choose the right floor lamp for the living room to go further. Get inspired on our decoration website for your next projects.
