


How do I attach a curtain rod to a wardrobe?
Your wardrobe deserves a dressing that lives up to its role, both practical and beautiful. Installing a curtain rod above this storage space transforms its look and refines your bedroom’s organisation. Yet a poorly considered fixing can disrupt the harmony of the room. This guide walks you through the essential steps for a sturdy, elegant installation, from choosing materials to marking your fixing points. Let the process inspire you, turning your wardrobe into a true decorative asset that marries functionality with refinement.
Introduction
Installing a curtain rod on a wardrobe is not just a matter of interior decoration; it plays a crucial role in the organization and aesthetic appeal of your bedroom. Properly securing a rod not only ensures the curtains hang well but also contributes to the harmony of the decor. It allows you to add a personal touch to your space, whether through simple patterns or vibrant colors, creating a pleasing visual effect while providing a functional solution for managing your clothes. In this first part, we will discuss the importance of correctly choosing the location and materials for your curtain rod, with a particular focus on wardrobes. We will also provide an overview of the necessary tools and materials, from brackets to the rod itself, including the type of curtain fabric, to ensure an installation that is both aesthetic and durable.

Preparation Before Installation
Before starting the work, choosing the location for the curtain rod is paramount. Whether you opt for wall or ceiling mounting, ensure the chosen space harmonizes with the rest of the room and the style of your wardrobe. Measuring the available space is a crucial step; this involves considering the width and area around the wardrobe, thereby determining the appropriate rod length and curtain size. Finally, selecting the right curtain rod is not limited to its aesthetic appearance; it must also match the weight and fabric type of your curtains, ensuring a solid and durable installation. Open this article in a new tab to analyze it after this one: How to cut a curtain rod?
Necessary Tools and Materials
For a successful installation, a precise list of basic tools is necessary. This includes, but is not limited to, a drill, a spirit level, screws, and mounting hardware suitable for your home's walls, whether they are wood or concrete. The choice of screws and mounting brackets is crucial for the safety of the installation. Opt for quality materials to avoid any risk of sagging or damage to the wall and ceiling. The quality of the materials is essential, not only for durability but also for the aesthetics of your room. Sturdy brackets and an appropriate rod or rail contribute to the desired visual effect while ensuring the wardrobe's functionality.

Steps for Installing the Curtain Rod
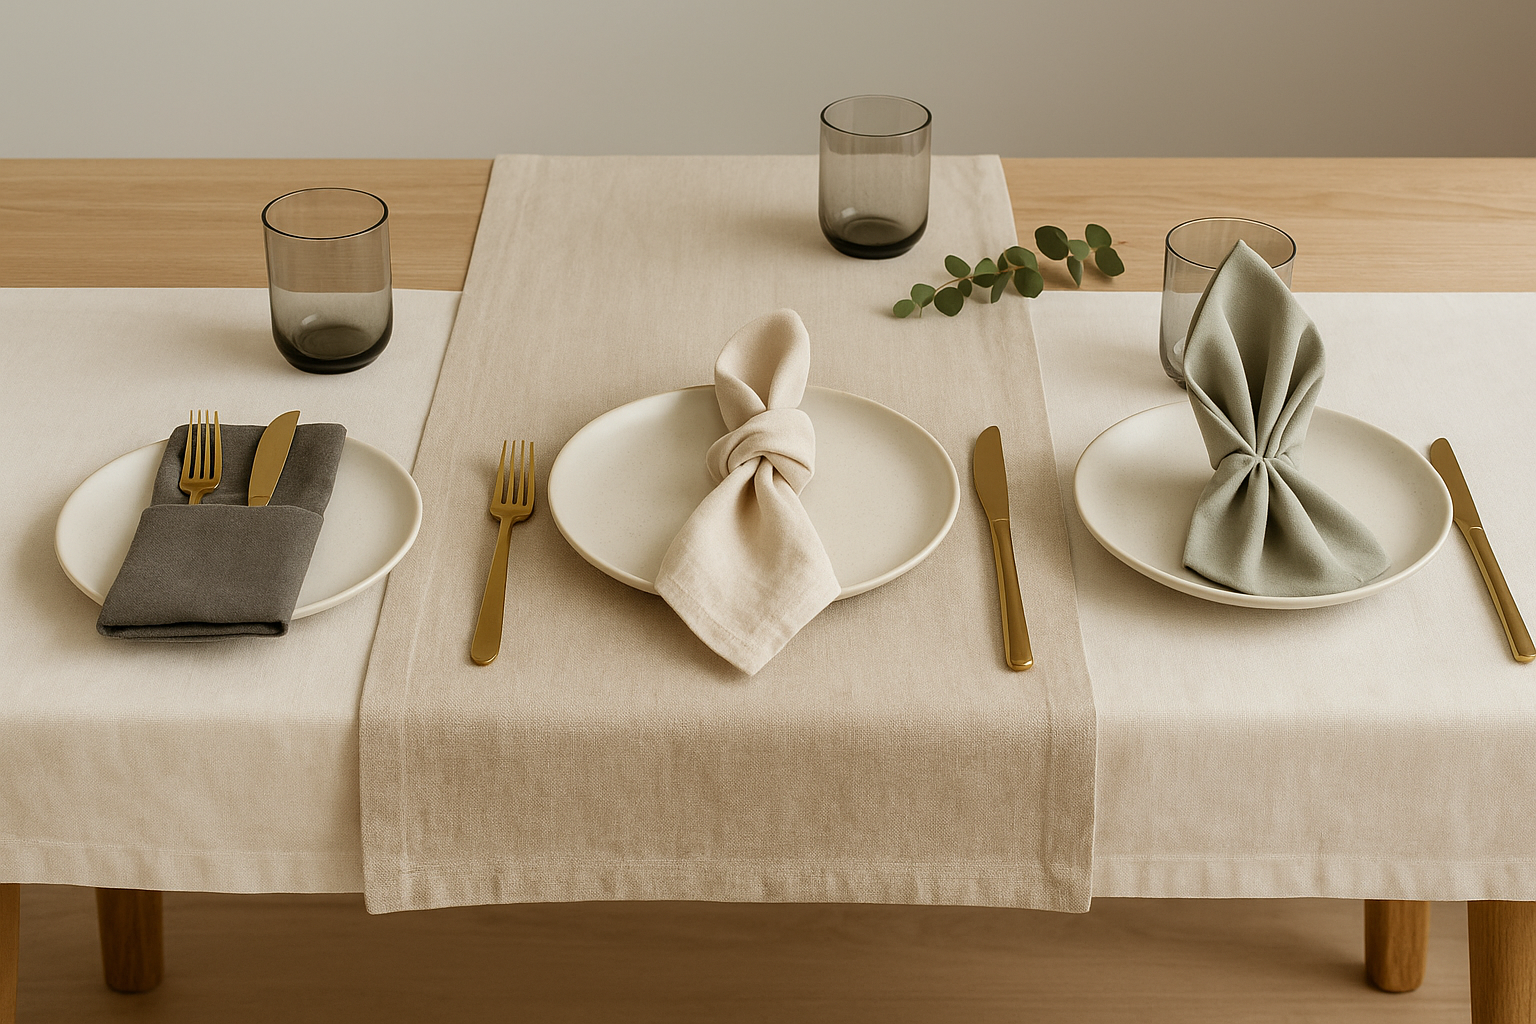
Installing a curtain rod on your wardrobe is a key step in personalizing your living space. Follow these steps for a secure and aesthetic installation. Also check out our collection of curtain rods.
Marking the Mounting Points
Using a Spirit Level
Ensure the curtain rod is perfectly horizontal. Careful use of a spirit level is essential to prevent your curtains from hanging unevenly. This wooden rod is perfect for your interior!
Tips for Precise Marking
Lightly mark with a pencil where the rod brackets will be fixed. Measure twice to avoid any mistakes and ensure the marks are aligned both in width and height relative to the floor.

Drilling the Mounting Holes
Selecting the Appropriate Drill Bit
Choose a drill bit that matches the wall type (plaster, wood, concrete) to avoid damaging the wall and ensure a solid installation.
Drilling Techniques to Avoid Damage
Drill slowly to control the depth and avoid drilling too far. Use a piece of adhesive tape on the drill bit as a depth guide. Take a look at our various interior curtains!

Installing the Rod Brackets
Securing the Brackets to the Wall or Ceiling
Screw the brackets firmly into the pre-drilled holes. If installing on a plaster wall, use wall plugs for better hold.
Adjustment for Alignment
Before final tightening, check the alignment of the brackets with the spirit level. Adjust as needed to ensure the rod will be perfectly horizontal.

Placing the Rod and Curtains
Inserting the Rod into the Brackets
Once the brackets are fixed and aligned, place the curtain rod.
Hanging the Curtains
Slide the curtains or fabric onto the rod before securing it definitively. This allows you to adjust the spacing and folds for an optimal decorative effect.

Finishing Touches and Adjustments
Checking the Rod's Stability
Gently pull on the rod to ensure it is securely fixed and can support the weight of the curtains.
Adjustments for Perfect Alignment
Make final adjustments so everything is straight and stable. This may include additional tightening of the brackets or adjusting the rod length.
Tips for Maintaining the Rod and Curtains
To maintain the appearance of your installation, regularly dust the rod and wash the curtains according to the manufacturer's instructions.

Common Mistakes to Avoid
Ignoring the Importance of the Spirit Level
A poorly aligned rod can ruin the aesthetics of the entire room.
Choosing Poor Quality Materials
Sturdy brackets and a quality rod ensure the durability of your installation.
Not Measuring Precisely
Imprecise measurements can lead to an uneven installation and difficult adjustments.

Conclusion
Follow All of These Steps!
Following these steps will help you install a curtain rod effectively and aesthetically. With Ombre Interieur, you can get warm products, but also expert advice!
Feel Free to Personalize Your Project
Feel free to choose colors, patterns, and materials that reflect your personal style. Installing your curtain rod is an opportunity to add a unique touch to your home, reflecting your lifestyle and sense of decoration. With the right tools, proper advice, and a little patience, you can transform a simple storage space into an attractive focal point of your interior. Also, we thought this short video might inspire you in your project!
Share
