


What mistakes should be avoided when painting in the studio?
Painting a studio is a balancing act: every stroke matters, every shade shows. With the constraints of a compact space and the desire for a flawless finish, pitfalls abound. You might think a quick roll of the brush is enough, but preparation, colour choice and application technique all determine the outcome. To avoid bubbles, hues that shrink the room or clumsy edges, it pays to know the most common mistakes. Let us guide you in turning your studio into a harmonious haven.
Are you about to paint your studio but dread the mistakes that could ruin your project? You're right to be cautious! Painting a small space like a studio requires special attention and adapted techniques. In this article, we analyze in detail the pitfalls to avoid and the best practices for perfectly painting your studio.
Preparation mistakes that compromise your studio painting
Surface preparation is the most crucial step for a professional result. In a studio where every detail is visible, neglecting this phase can be catastrophic.
One of the most frequent mistakes is to underestimate the preparation time. Insufficient wall cleaning, not sanding irregularities, or not filling holes immediately compromise the final quality.
Essential preparation checklist
- Thoroughly degrease surfaces before application
- Fill all imperfections with appropriate filler
- Sand surfaces to obtain a smooth and uniform support
- Effectively protect furniture and floors with tarps
- Apply a primer to difficult surfaces
Another major mistake: ignoring humidity problems. In a studio, where ventilation is often limited, applying paint to a damp wall will inevitably lead to blistering, peeling, and mold in the medium term.
Inappropriate choice of colors and finishes for a small space
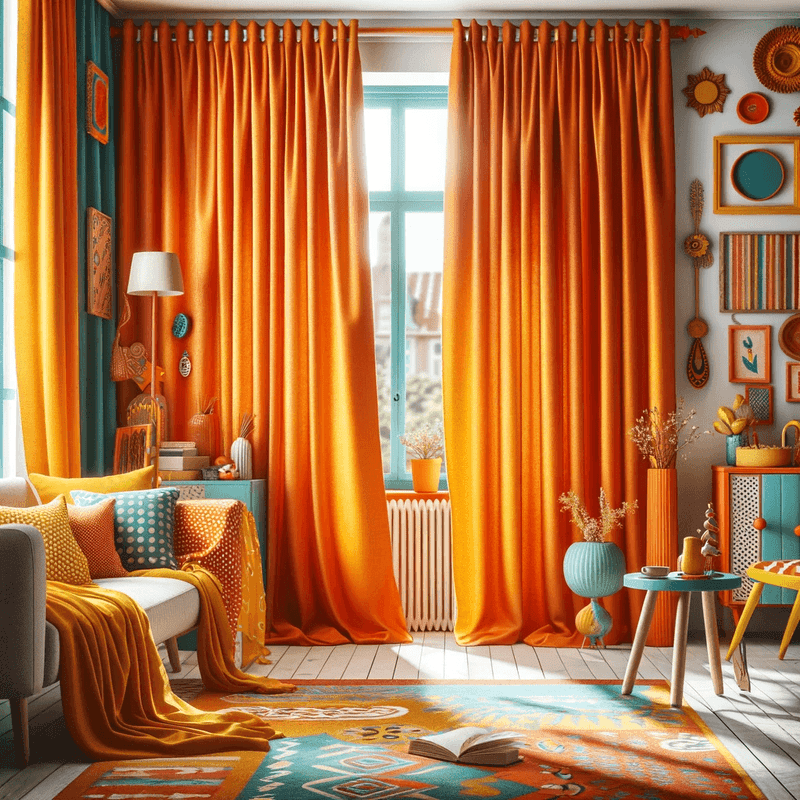
In a studio, the perception of space is directly influenced by the chosen hues. A classic mistake is to select colors that are too dark, which visually shrink the room, creating a cramped feeling.
Light tones such as off-white, pale beige, or pearl gray enlarge the space. However, avoid pure white, which can create a cold and impersonal atmosphere in a small dwelling.
Chromatic strategies to enlarge a studio
- Opt for a light main shade and limited color accents
- Use the same color for walls and ceilings to blur boundaries
- Choose satin or slightly glossy finishes that reflect light
- Create an accent wall only if space allows
Regarding finishes, many make the mistake of choosing matte paint for all surfaces. In a studio, prefer satin finishes in high-traffic areas and humid rooms for easier maintenance.
Technical application errors that ruin your paint job
The application technique is crucial for a professional finish. The most common mistake is to neglect the order of application: always start with the ceiling, then the walls, and finally the woodwork.
In a studio where maneuvering space is limited, haste is your worst enemy. Take the time to apply your paint correctly in thin, regular coats rather than trying to cover in a single thick coat that will create runs.
Application techniques to master
- Work in 1m² areas to maintain a "wet edge"
- Respect drying time between coats
- Use a roller suited to the type of paint and surface
- Paint by criss-crossing passes to avoid streaks
- Master the "cutting-in" technique for corners and edges
A common technical error is to dilute the paint excessively to speed up application. This practice reduces the covering power and durability of your coating.
Traps related to ventilation and drying in confined spaces
In a studio, limited ventilation poses a major challenge. The most common mistake is to neglect ventilation during and after application of the paint, which prolongs drying time and can alter the quality of the film.
Volatile organic compounds (VOCs) present in some paints can accumulate in a small space, creating persistent odors and potentially respiratory problems. Prioritize paints with low VOC content or solvent-free paints.
Solutions to optimize drying
- Create a draft by opening doors and windows
- Use a dehumidifier if the air is too humid
- Plan your work according to weather conditions
- Avoid overheating the room during drying
Another mistake is to move furniture and objects back into the freshly painted studio too quickly. Even if the paint seems dry to the touch, complete curing can take several days.
Organizational and planning errors
In a studio where space is limited, poor organization can turn your painting project into a real nightmare. The major mistake is to underestimate the time needed to complete all the work.
Many also overlook the impact of lighting conditions on the final result. A color may seem perfect during the day but take on a completely different appearance under artificial lighting in the evening.
Effective planning for painting a studio
- Establish a realistic schedule including drying times
- Provide temporary accommodation if possible
- Test chosen colors under different lighting conditions
- Organize the space to create accessible work areas
- Prepare all tools and materials before starting
A common organizational error is not to provide enough paint, which leads to visible touch-ups if you have to use a new can with a different batch number.
Maintenance and durability: avoiding post-application errors
After investing time and effort in painting your studio, certain mistakes can compromise the durability of your work. The most common is to clean freshly painted surfaces too aggressively.
Paint reaches its maximum hardness after approximately 28 days. During this period, avoid intensive cleaning and only use a slightly damp cloth if necessary.
Good maintenance practices
- Wait at least two weeks before the first cleaning
- Use non-abrasive and solvent-free products
- Treat stains quickly to prevent them from penetrating
- Keep a little paint for future touch-ups
An often overlooked mistake concerns prolonged sun exposure, particularly problematic in a studio with large bay windows. UV rays can discolor certain paints, a phenomenon to anticipate when choosing your product.
Conclusion: transforming your studio with a successful paint job
Avoiding common painting mistakes in a studio requires anticipation, preparation, and technique. By following the advice detailed in this article, you will maximize your chances of achieving a durable and aesthetic result.
Remember that in a small space, every detail matters. The quality of your paint directly influences the ambiance, luminosity, and even the perception of your studio's dimensions.
Don't hesitate to invest in quality products and take your time at each step. A careful job will radically transform your living space, creating a harmonious and personalized atmosphere that will bring you satisfaction for many years to come.
Share

